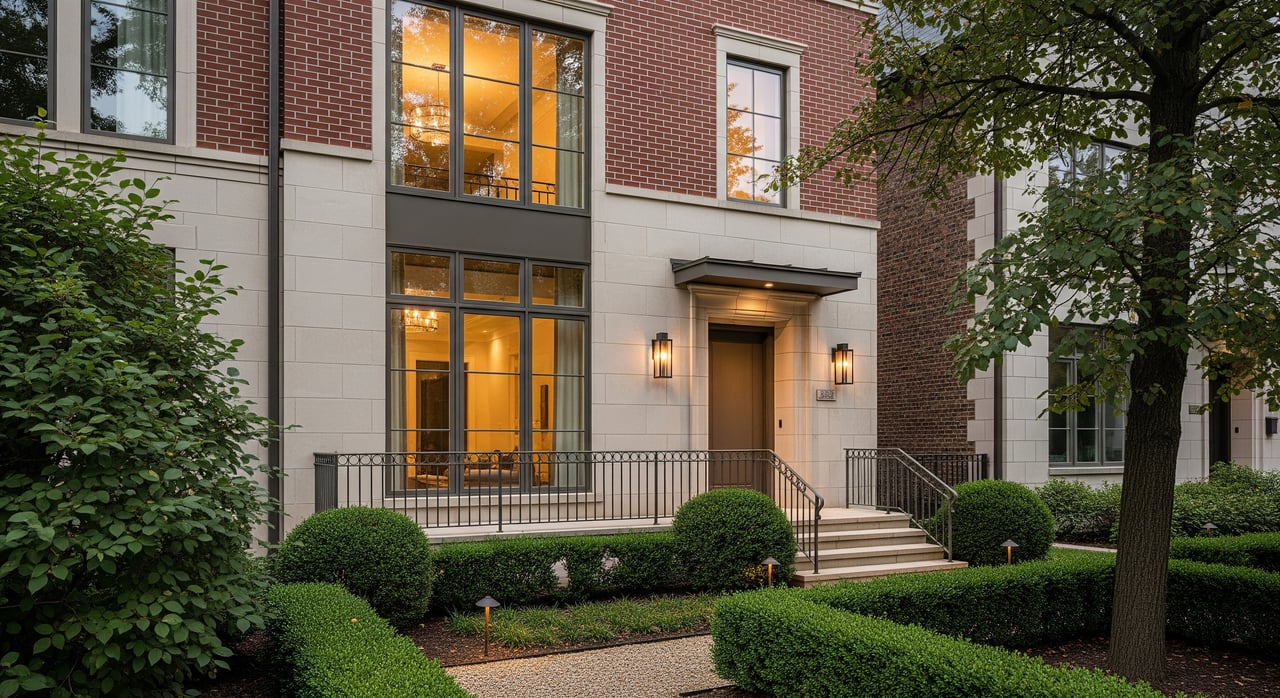
Are you preparing to rent out a home or condo in Ferndale and want to avoid last‑minute surprises? Whether you are a first‑time landlord, an estate trustee managing a property, or a seasoned owner, getting rental registration and inspections right protects your tenants and safeguards your investment. In this guide, you will learn how Ferndale’s rental registration works, how to schedule and pass inspections, what timelines to expect, and the common issues that cause delays. Let’s dive in.
Who must register in Ferndale
If you own a residential property in Ferndale that is occupied by someone other than you under a lease or rental agreement, it likely needs to be registered with the city and inspected for code compliance. This applies to single‑family homes, duplexes, and multi‑unit buildings within city limits. Some properties may be exempt based on the city’s definition of a rental unit and current ordinance language.
Because municipal rules change, always confirm the latest definitions, exemptions, and renewal cycles directly with the City of Ferndale’s rental registration and code enforcement resources before you start.
From registration to approval: the steps
1) Confirm applicability
Start by confirming the property sits within Ferndale city limits and meets the city’s definition of a rental unit. If the property is owner‑occupied with a tenant in a portion of the home, or used for short‑term stays, ask the city how it classifies your situation. Clarify whether registration must be completed before any new tenant moves in.
2) Gather your information
Collect essential details ahead of time to streamline your application:
- Property address and parcel ID
- Owner name, mailing address, phone, and email
- Local agent or manager contact, if applicable
- Number of dwelling units and each unit’s details, such as bedrooms and bathrooms
- Proof of ownership or a recent tax bill, if required
3) Complete the registration
Submit the city’s rental registration application and pay the applicable fee. Many cities offer an online portal or a downloadable form with in‑person or mail options. Verify the current registration fee, renewal frequency, and any late penalties on the city’s posted fee schedule before you apply.
4) Schedule the inspection
After your registration is accepted, the city will provide instructions to schedule the rental inspection. Calendar lead times can vary by season and staffing. Plan for at least 2 to 6 weeks of lead time when possible, especially if you are coordinating a tenant move‑in.
5) Prepare for the inspection
Use the city’s published rental inspection checklist to pre‑inspect your unit. Focus on life‑safety items like smoke and carbon monoxide alarms, egress, electrical safety, heating, and plumbing. Address obvious issues and keep receipts for recent repairs, which you can share with the inspector if asked.
6) Correct items and request re‑inspection if needed
If violations are cited, you will receive a written list and a correction deadline. Serious hazards may require immediate action. Once repairs are complete, schedule a re‑inspection and be prepared for a re‑inspection fee if the city assesses one.
What inspectors typically check
Cities design rental programs to protect health and safety. Expect an inspection that covers the following areas:
- Life safety: working smoke alarms and CO alarms in required locations, safe egress, secure doors and windows
- Electrical: intact cover plates, grounded outlets where required, no exposed wiring, GFCI protection where required
- Heating: a functional system that maintains minimum temperature
- Plumbing: no active leaks, adequate hot water, venting where required
- Kitchen and bath: safe appliance operation, ventilation where required
- Stairs and rails: secure handrails and guardrails, safe treads and landings
- Exterior: roof and siding in sound condition, visible address numbers, secure locks, clear trash storage
- Health: no signs of pests, mold, or moisture problems
Always review the city’s official inspection checklist for precise pass or fail criteria and code references. That is the document your inspector will use onsite.
Pre‑inspection checklist you can use now
Walk your property with this simple checklist before scheduling your inspection. It mirrors common municipal standards and helps you reduce re‑inspections:
- Smoke alarms: one inside every bedroom and outside sleeping areas, tested and functional
- CO alarms: present and working near sleeping areas, especially if there are fuel‑burning appliances or an attached garage
- Egress: windows and doors open easily, paths to exits are clear
- Electrical: no missing cover plates, no exposed wiring, GFCI protection where required, no overloaded power strips
- Heating: system serviced, filters replaced, thermostat operational
- Plumbing: no leaks at faucets, traps, or supply lines; water heater has proper relief valve and discharge tube
- Kitchen: range and oven operate safely; anti‑tip bracket installed if required
- Bathrooms: working ventilation fan or operable window; no moisture damage
- Stairs/rails: secure handrails and guardrails; no loose treads or broken steps
- Windows/doors: lock and latch properly; screens intact where provided
- Exterior: house numbers visible from the street; gutters and downspouts direct water away from the foundation; yard free of trash and debris
- Safety: no stored combustibles near heat sources; required fire extinguishers in common areas if applicable
- Health: no evidence of pests; address moisture sources promptly
Timelines and planning tips
A little planning goes a long way. Here is a sample way to structure your timeline so you are ready for tenants without stress:
- 30–60 days out: Start registration or renewal. Confirm current fees and any new rules.
- 21–45 days out: Schedule the initial inspection. Busy seasons can book up, so secure your spot early.
- 7–30 days out: Complete repairs. Order parts or schedule licensed trades for electrical, plumbing, or HVAC work.
- 0–14 days out: Re‑inspection if needed. Keep receipts and photos ready to show corrections.
For unit turnover, many owners start registration the same week they list the rental. That gives enough time to complete repairs before a new lease begins.
Common violations to avoid
The same items tend to show up across rental programs. Address these early to save time and money:
- Missing or non‑functional smoke or CO alarms
- Exposed wiring or missing outlet and switch plates
- Blocked exits or windows painted shut
- Non‑working heat or inadequate hot water
- Plumbing leaks, soft flooring, or moisture damage
- Loose handrails, unstable steps, or inadequate guards
- Deteriorated exterior surfaces that create safety risks
Enforcement if you miss deadlines
Municipal enforcement usually follows a predictable path. If you do not register or correct violations, expect:
- Written notices citing violations and a correction deadline
- Re‑inspection to verify compliance
- Civil fines or administrative penalties, including late fees
- Potential liens for unpaid fines or, in serious cases, court action
- Suspension or revocation of the rental license for repeat or severe issues
Confirm Ferndale’s specific fine amounts, correction windows, and escalation steps on the city’s ordinance and fee schedule pages.
Local tips for Ferndale’s housing stock
Ferndale has many older homes and small multifamily buildings, which can come with legacy conditions. Be proactive about the following:
- Older wiring: plan for GFCI protection where required and replace missing cover plates
- Alarms: install modern, interconnected smoke and CO alarms per current standards
- Moisture management: keep basements and bathrooms well ventilated and seal minor foundation penetrations
- Exterior upkeep: maintain visible address numbers and safe steps, especially during freeze‑thaw seasons
Keep your records in order
Document everything. Keep digital copies of your registration, inspection reports, repair invoices, and permits. Take before‑and‑after photos for major corrections. Organized records help you during re‑inspections and protect you if questions arise later.
When to contact the city
If you are unsure about exemptions, inspection frequency, or whether certain work needs a permit, contact Ferndale’s Code Enforcement or Building Department. Ask for the current rental registration application, published inspection checklist, inspection scheduling process, and fee schedule. Policies change, so always rely on the most recent city materials.
Need a steady hand to plan your timeline?
If you are navigating this as part of an estate, divorce, or a first‑time rental decision, it is normal to feel overwhelmed. A calm, process‑driven plan keeps you in control and on schedule. If you would like help organizing pre‑inspection steps, contractor outreach, or timing a future sale, reach out. Schedule a Confidential Consultation with Unknown Company to map your next steps with care and clarity.
FAQs
What does Ferndale require before renting a home?
- Most residential rentals must be registered with the city and pass a municipal inspection that verifies health and safety standards.
How long does a Ferndale rental inspection process take?
- Plan for 2 to 6 weeks to schedule the initial inspection, plus time to complete repairs and any re‑inspection if violations are cited.
How often do I need to renew my rental registration in Ferndale?
- Renewal frequency varies by ordinance; check the city’s current rental registration page and fee schedule for the latest renewal cycle.
What fees should I expect for registration and inspections?
- Fees typically include an initial registration fee and potential re‑inspection fees; confirm current amounts on the city’s fee schedule.
Do I need carbon monoxide alarms in a Ferndale rental?
- Yes, CO alarms are commonly required where fuel‑burning appliances or attached garages exist; verify exact placement and requirements on the city’s inspection checklist.
What if my tenant is already in place?
- You still need to register and schedule inspections according to city rules; coordinate access with your tenant and communicate repair timelines in writing.